Getting your camping trailer set up correctly is the first step towards a smooth and enjoyable outdoor experience. From leveling the trailer to connecting utilities, a well-executed setup ensures comfort and safety, allowing you to relax and soak in the natural beauty surrounding you. This guide will walk you through the essential steps, covering everything you need to know to make your campsite a home away from home.
Choosing the Right Campsite and Initial Placement
Before you even think about leveling, selecting the right campsite is paramount. Consider factors like sun exposure (morning sun can be nice, but afternoon shade is often preferred), proximity to amenities like restrooms and water sources, and the overall terrain. Once you've chosen your spot, carefully back your trailer into the designated area. Aim for a position that allows for easy access to hookups and a pleasant view from your campsite. Take your time with this maneuver, using a spotter if necessary. Consider the orientation of your trailer relative to the prevailing wind, especially if you plan on using an awning. The goal is to position the trailer so that when it's leveled, all your utilities will be within easy reach and the living space will be comfortable. Many campers prefer to have their door facing away from the main thoroughfare for privacy. Don't rush this initial placement; it lays the foundation for a stress-free setup process. Remember to engage your trailer's parking brake firmly once you've reached your desired position.
Leveling Your Camping Trailer: The Key to Comfort
A level trailer is crucial for comfort, proper appliance function (especially refrigerators), and even preventing water from pooling. Start by placing leveling blocks or sturdy chocks under the tires on the side that needs to be raised. Use a carpenter's level on the floor of your trailer, or on the tongue, to check for levelness in both directions (side-to-side and front-to-back). Adjust the tongue jack to achieve front-to-back levelness. Once that's done, you may need to adjust the trailer's position slightly or use more blocks to achieve side-to-side levelness. Many modern trailers have automatic leveling systems, but if yours doesn't, manual leveling is a skill every camper should master. Consider investing in a good set of leveling blocks and a reliable carpenter's level. Some campers also utilize a spirit level mounted directly to the trailer's tongue for quick checks. Ensure your stabilizing jacks are lowered and snugged up after you've achieved a level position, but don't over-tighten them, as this can actually lift the trailer off its wheels and make it unstable. The primary goal is to have the trailer resting evenly on all its tires and the tongue jack, with the stabilizing jacks providing additional support.
Connecting Utilities: Water, Power, and Waste
Once your trailer is level, it's time to connect your utilities. This typically involves hooking up to a water source, connecting to an electrical outlet, and managing your waste tanks. For water, use a potable water hose and a water pressure regulator to protect your trailer's plumbing system from high pressure. Ensure the water pump is turned off before connecting to city water. For electricity, use a heavy-duty, weather-resistant extension cord if the power source is not directly adjacent. If your trailer has a solar setup or a generator, connect those according to their specific instructions. Managing your waste tanks is also a critical step. Familiarize yourself with your trailer's grey water (sink and shower) and black water (toilet) tanks. If you are at a full hookup campsite, connect your sewer hose securely to the campsite's dump station, ensuring there are no leaks. Many campers also use a clear elbow connector so they can visually monitor the flow from their tanks. If you're not at a full hookup site, you'll need to know how to properly empty your tanks at a designated dump station. Always flush your black water tank with fresh water after emptying to keep it clean.
Setting Up Your Awning and Exterior Living Space
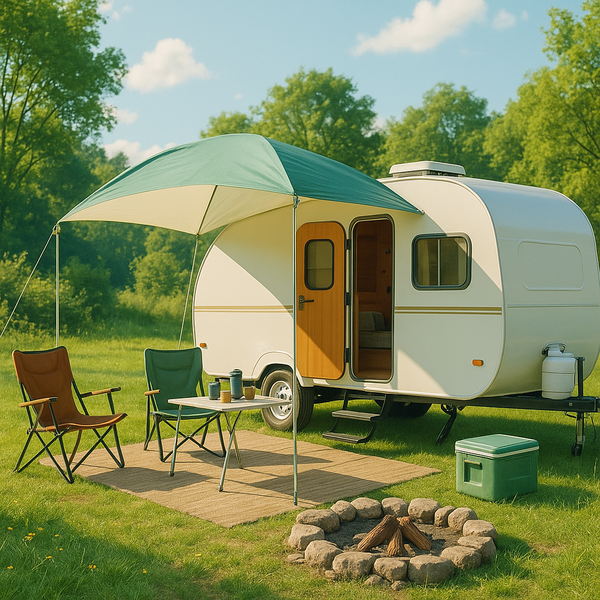
The awning is a fantastic addition, providing shade and shelter from light rain, extending your living space outdoors. Most manual awnings simply require you to unroll them and extend the support legs. Ensure the legs are firmly planted on the ground, often with the aid of leveling blocks if the ground is uneven. For electric awnings, follow your trailer's specific operating instructions. Once the awning is extended, consider setting up your outdoor chairs, a small table, and perhaps an outdoor rug to create a comfortable and inviting ambiance. Proper tension on the awning fabric is important to prevent sagging. Many awnings have adjustable arms that allow you to control the angle of the shade. Think about where you want to place your campfire or grill relative to your trailer and awning, ensuring safety and convenience. Remember to retract your awning in high winds or heavy rain to prevent damage. Some campers also add anti-billow kits to help keep the awning fabric taut in breezy conditions, which can also help water run off more effectively. Enjoying your outdoor space is a key part of the camping experience, so take the time to make it comfortable.
Final Checks and Comforts
Before you fully relax, do a final walk-around of your entire setup. Double-check that all doors and windows are secure, that your stabilizing jacks are firmly in place, and that all utility connections are secure and leak-free. Turn on your refrigerator to allow it time to cool down before loading it with food. If you have any slide-outs, ensure they are fully extended and that the seals are intact. Open up your interior space, arrange your furniture, and make your trailer feel like home. Consider setting up any exterior lighting you might need for the evening. Make sure your fresh water tank is filled if you are not connected to city water. It’s also a good idea to check your propane levels if you plan on using your stove or heater. Many campers bring along portable steps to make entering and exiting the trailer easier, especially if the trailer's built-in steps are high. Take a moment to appreciate your work; a well-set-up trailer means more time for relaxation and adventure. This final stage ensures that everything is functioning correctly and safely for your stay.